 Add Row
  Add
Add 

Spread Cheer with DIY Window Clings
The holidays are a time for creativity and celebration, and what better way to invite that spirit into your home than by making your own DIY window clings? Not only do they bring joy, but crafting these decorations is easy, cost-effective, and a perfect way to engage the entire family. Whether you want to fill your windows with snowflakes, autumn leaves, or cheerful holiday motifs, this guide will inspire you to get started in just a few simple steps.
Gather Your Supplies
To embark on this festive DIY project, you will need a few common materials:
- Clear plastic sheet protectors or translucent wax paper
- Dish soap
- Food coloring or acrylic paint
- Glitter (optional for extra sparkle)
- Puff paint or fabric paint
- Dark-colored pen for outlining
- White school glue
Create Your Own Design
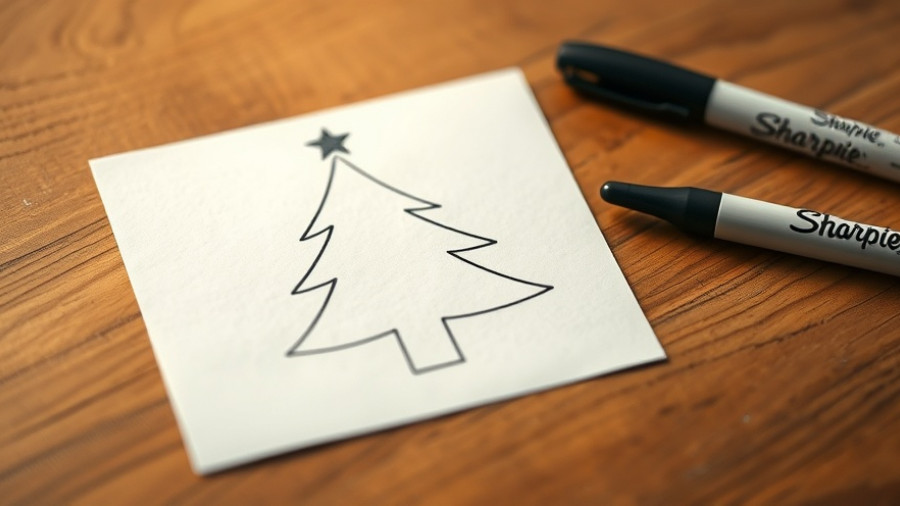
Before diving into the painting, choose a design that resonates with you. Popular choices include whimsical snowflakes or vibrant flowers. If drawing isn’t your strong suit, print designs from the internet or use templates from a coloring book. Once you have your design, protect it by placing the paper in a plastic sheet protector or taping translucent wax paper over it.
Mixing Your Paint
If you opt for the glue method, start by mixing one tablespoon of white glue with a drop of dish soap in separate containers for each color. Afterward, add food coloring to achieve your desired hues. For added depth, utilize lighter shades first and progressively create darker variations.
Painting Techniques to Elevate Your Project
Now that your colors are ready, it’s time to bring your design to life! Using puff paint or the glue mixture, carefully outline your design on the sheet protector. Ensure your outlines are solid to prevent tearing during the peeling process. Once outlined, fill in the areas of your design with a thick layer of paint, ensuring that colors touch each other for seamless adhesion. Add a sprinkle of glitter for that requisite holiday cheer!
Patience is Key: Allow to Dry
Let your masterpiece dry for at least 24 to 48 hours in a safe spot. You’ll know it’s ready when it turns translucent. If it retains a milky appearance, it needs more drying time. Once it’s set, gently shake off excess glitter.
Removing and Using Your Window Clings
When your clings are completely dry, carefully peel them off the plastic cover. Patience here is essential; too much force will stretch or tear your delicate creation. If you encounter difficulties while peeling, try placing them in the freezer for a short time to help them detach easily. Once off, simply press them onto a clean window to enjoy their captivating charm.
Change with the Seasons: The Beauty of Reusability
One of the greatest benefits of DIY window clings is their versatility. As the seasons change, so can your décor! These clings can easily be removed and reapplied to different windows, allowing for continuous creativity throughout the year.
FAQ: Addressing Common Concerns
Do these clings damage the window?
No, DIY window clings generally do not damage windows. However, they might leave behind a subtle residue which can be cleaned with warm soapy water.
What if my cling won’t come off?
If you find yourself stuck, gently warming the cling with a hair dryer can help loosen its grip and facilitate removal.
Final Thoughts: Celebrate Your Creativity
Making DIY window clings offers not only a chance to personalize your holiday decor but also fosters a sense of togetherness. This project is not just about aesthetics; it’s about engaging with family, expressing creativity, and creating lasting memories. So gather your materials and unleash your artistic potential this holiday season!
Let your creative juices flow and don’t hesitate to experiment with different designs and colors. The impactful results will bring a smile to your face as you reflect on your unique home transformations!


Write A Comment