 Add Row
  Add
Add 

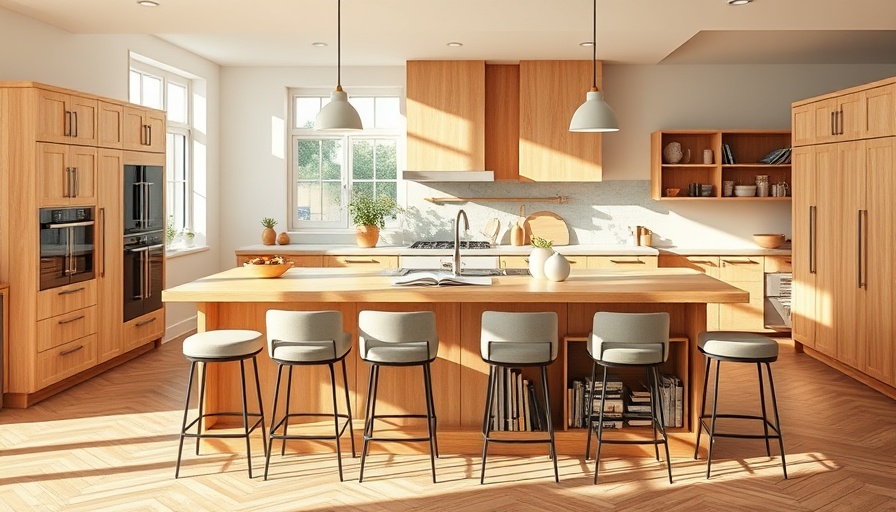
Transform Your Space: Building a Functional Kitchen Island
A kitchen island can revolutionize your cooking and dining experience. Not only does it serve as a central hub for meal prep, but it can also provide additional seating, making it the perfect spot for family gatherings or casual meals. In this article, we’ll guide you through the process of building a custom kitchen island using IKEA components. This project is achievable even for those with intermediate DIY skills and focuses on utilizing materials that enhance both functionality and style.
Why Choose IKEA Cabinets?
IKEA cabinets are known for their versatility and affordability, making them a popular choice for many homeowners looking to create personalized spaces. In fact, using these cabinets lets you achieve a high-end look without breaking the bank. By starting with basic IKEA components, you can customize your kitchen island to suit your specific needs and design preferences. You’ll find that this approach not only saves you money but also gives you a chance to infuse your own personal style into your home.
Before You Begin: Assemble Your Tools and Materials
Creating a kitchen island requires a mix of essential tools and materials. Before diving into the project, ensure you have the following on hand:
- 1-1/4" spade bit
- 18ga brad nailer
- 3/8” plug cutter
- Assorted drill bits
- Biscuit joiner
- Clamps, and more
This flurry of tools lets you capitalize on the effectiveness of your workflow, ensuring each phase of assembly is smooth. With IKEA cabinets as your base, be open to adapting and changing design elements as you see fit!
Step-by-Step Guide to Your Kitchen Island
The project is broken down into manageable phases, ensuring it doesn’t become overwhelming. Here’s a brief overview:
Step 1: Assembly of IKEA Cabinet Casework
Begin by assembling your IKEA cabinet components according to the instructions. Remember to utilize wood glue and clamps for added stability. While assembly may seem straightforward, attention to detail here will pay off in the end.
Step 2: Pre-painting Your MDF Sheets
Before attaching the MDF, you’ll want to pre-paint the panels to save time later. This step allows for ease in finishing touches once construction is complete and helps you achieve a professional look.
Unique Personal Touches to Elevate Your Kitchen Island
Once the basic structure is complete, it’s time to infuse your kitchen island with personal touches. Deep colors, patterned tiles, or even a unique countertop can turn a simple structure into a statement piece in your home.
Incorporate Sustainable Practices
As you work through your design and build, consider incorporating sustainable materials. Whether it's using eco-friendly paints or sourcing reclaimed wood for countertops, these choices not only reflect values of wellness and health but are also increasingly important in contemporary design.
Maximizing Space and Functionality
Think about the layout of your kitchen and how the island can serve multiple purposes. Include storage options, such as shelves or drawers, to keep your kitchen organized and clutter-free. Additionally, integrating seating will encourage family interaction and casual dining.
Final Touches and Maintenance
Before you sit back to enjoy your new kitchen island, remember that maintenance is key to longevity. Consider how you can best care for the materials used, and regularly check for wear and tear to keep your island looking fresh.
Get Started on Your Kitchen Island Project Today!
Building a kitchen island with seating not only enhances your kitchen's functionality but encourages heartwarming gatherings with family and friends. Embrace the opportunity to create a space that promotes well-being and celebrates togetherness. Left with a blueprint of ideas, grab your tools and kickstart this exciting project!
For more home improvement ideas and sustainable living tips, be sure to explore additional resources on our website. Your dream kitchen awaits!


 Add Row
  Add
Add 
Write A Comment