 Add Row
  Add
Add 

Understanding Vinyl Plank Flooring Repairs
Vinyl plank flooring is a popular choice among homeowners for its aesthetics, durability, and ease of maintenance. However, accidents happen, and over time, you might find yourself needing to address unsightly scratches, dents, or water damage. With just a few basic tools and materials, you can restore the beauty of your floor without incurring hefty repair costs by opting for a DIY approach.
Two Repair Methods: Know Your Floor
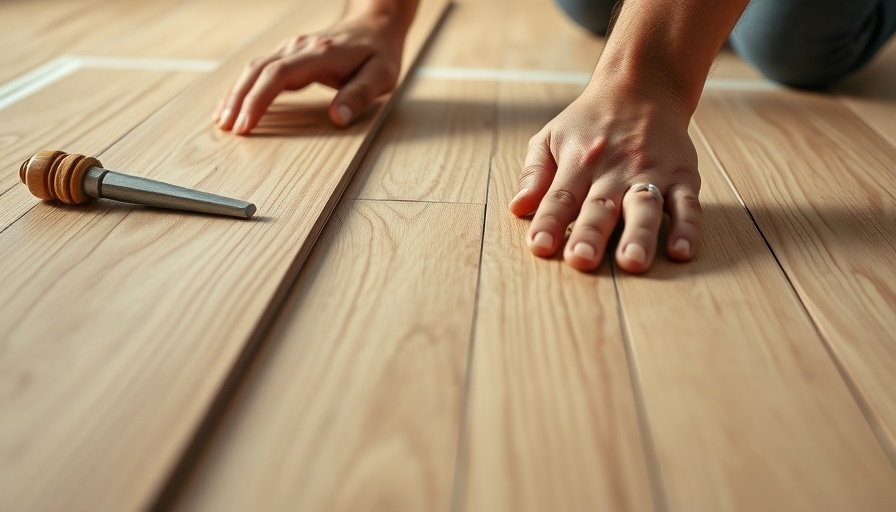
Before attempting any repairs, it’s crucial to understand your flooring type. High-quality vinyl planks are designed to be easily removed, allowing for straightforward replacements. Experienced industry professionals, like Alex Ciocek of Summerlin Floors, recommend starting your repair from a corner of the room and unclicking the planks until you reach the damaged area. In contrast, lower-quality flooring often does not afford the same luxury and may require you to cut out the damaged piece and glue a new one in its place.
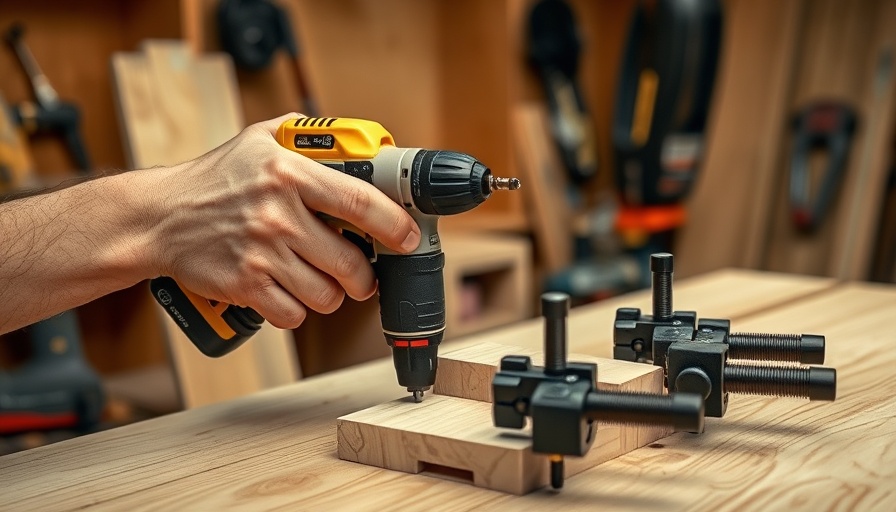
Gather Your Tools: Preparing for Success
Before diving into repairs, prepare your toolkit. Essential tools include a chisel, circular saw, hammer, and utility knife. You’ll also need some finish nails, replacement planks, and superglue. Having the right tools at your fingertips will facilitate a smoother repair process and yield more professional results.
Step-by-Step Repair: A Closer Look
For those ready to tackle their flooring issues, here’s how to effectively execute both repair methods:
- Method #1: Remove and Replace
- Step 1: Remove the baseboards carefully using a utility knife and pry bar.
- Step 2: Pry up the last installed plank in the corner using a pry bar, allowing you to unclick the damaged piece.
- Step 3: Replace the damaged plank and reinstall the remaining floor.
This method works best in smaller spaces. However, if the damaged area spans larger sections, consider hiring a professional to ensure a seamless look.
Repair Option #2: Glue Cap Method
If unclicking isn't suitable for your flooring type, cutting out the damaged section may be necessary. This method transitions your floor from a floating installation to a glue-down setup, which can lead to potential surrounding plank issues over time. Therefore, always weigh the pros and cons before deciding. Following these steps can help you manage the repair:
- Step 1: Cut out the damaged area carefully using an oscillating saw.
- Step 2: Trim your replacement plank to match the cut area and apply superglue.
- Step 3: Position the new plank and ensure it aligns properly for a smooth finish.
While this method may provide a quick solution, it carries the risk of generating future complications.
Precautions During Repair
Before undertaking these repairs, remember to ensure proper ventilation in your workspace. Mold and moisture can ruin your floor and impact your health. Moreover, take care while using tools to avoid injuries. If unclicking your planks, be gentle, as excessive force can lead to breakage.
Final Thoughts and Practical Tips
Repairing vinyl plank flooring allows homeowners to maintain the beauty and integrity of their living space. Understanding your material and having the right tools simplifies this process. Observing proper safety precautions will create a smoother experience. Whether you’re an avid DIYer or a beginner tackling minor repairs, these steps are designed to empower you to take control of your flooring.
Let’s Get Repairing!
Now that you’re equipped with practical knowledge and insights for repairing vinyl plank floors, consider diving into your home project. Remember – each little improvement you make contributes to a healthier and more inviting living space. Happy repairing!


 Add Row
  Add
Add 
Write A Comment